by
by VMware Cloud Director is a widely used product in the service provider space, the multi tenancy capability provides service providers a platform that is secure scalable and packed full of features and opportunity. The base install of Cloud Director provides a lot but the real magic comes when you add in an orchestrator layer, this enables the platform to take requests and add additional customer and service provider focused workflows to add additional services or functionally. the below post is going to guide you through a deployment of vRealise Orchestrator and how to configure blocking tasks to get the request messages into VRO.
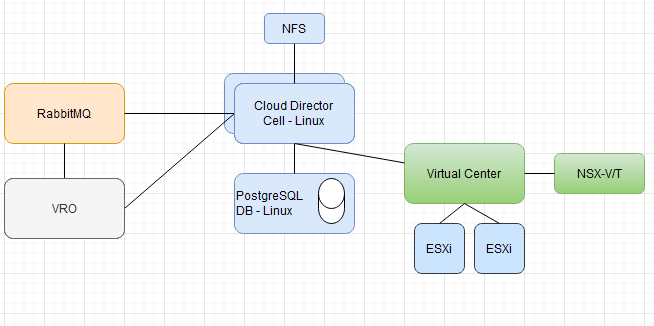
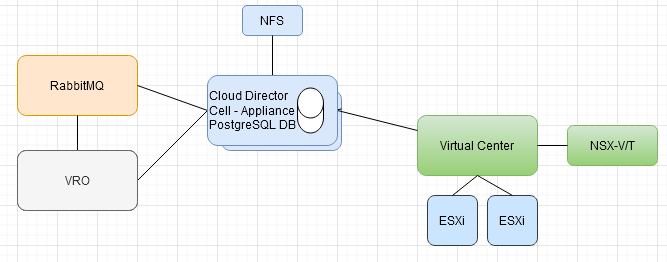
Cloud Director has a number of moving parts and interactions and can be deployed in 2 major different architectures, I’m not going to cover this off in detail but you can find more info here . The below diagram gives you a quick view of the linux based option and the appliance based option. In my view the appliance based deployment is the way to go as it provides DB HA out of the box.
Linux:
Appliance:
So to provide the Extensibility for Cloud director we need to install VRO and RabbitMQ (look out for new post coming soon on Artemis the internal Messaging capability to VCD Appliance) . There are a few steps that we need to perform to get this up and running:
- VMware vRealize Orchestrator Deployment
- Setup Auth Provider for VRO
- Install Cloud Director Plugin
- Import Certificate
- Add Cloud Director to VRO
VMware vRealize Orchestrator Deployment
Authentication Provider
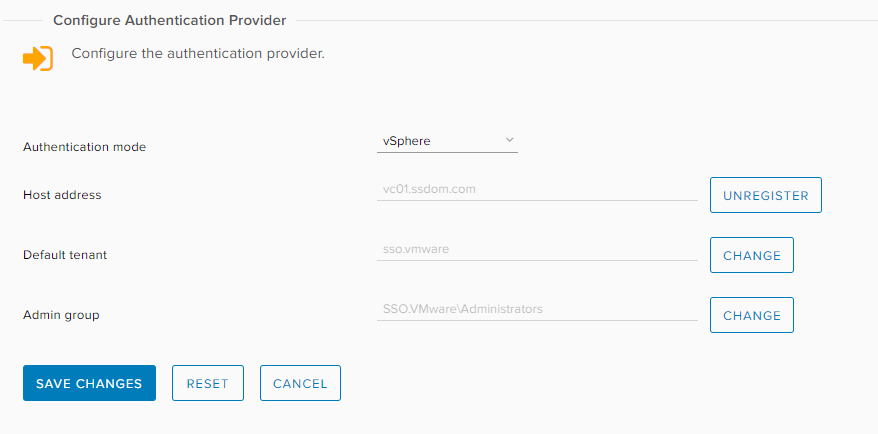
The Authentication Provider is the source used to manage accounts that can log into the VRO client, there are 2 options available vSphere and vRealise Automation, as this is Cloud director focused and not VRA select vSphere and provide hostname and tenant information for the VMware SSO domain.
Connect and then select the Admin group, this could be an AD group which is already configured on the Virtual Center, I’ll use the local SSO domain Administrators group as this is a lab.
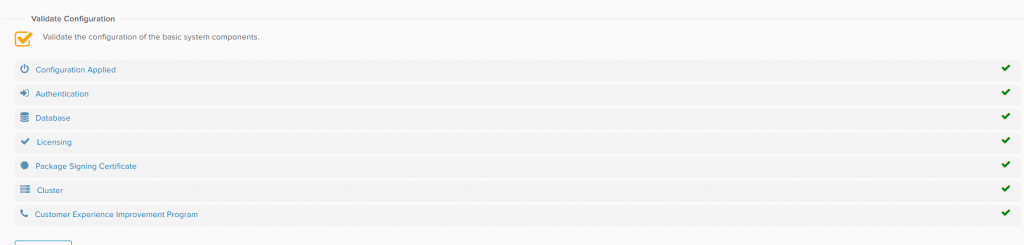
A reboot is needed to complete this configuration. Log back into the Control Center and check configuration validation to make sure this system is operational. You should now also be able to launch the VRO client and login using a SSO domain account in the admins groups you have set.
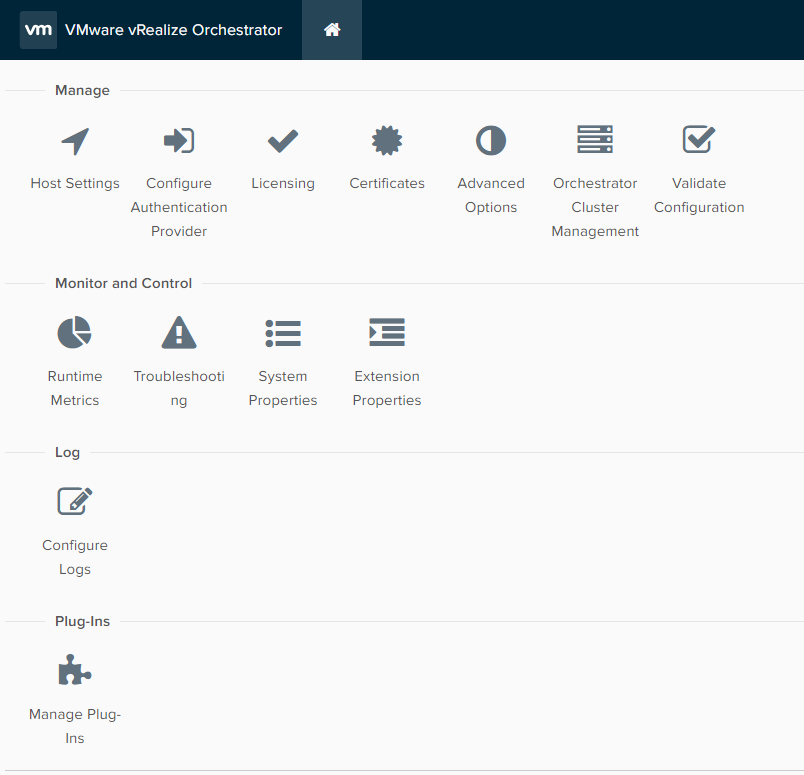
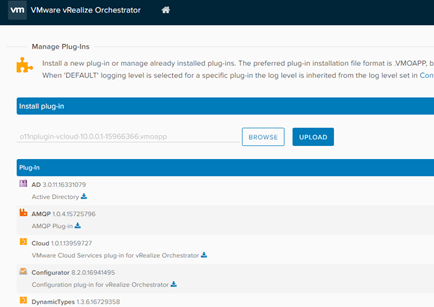
Base install of VRO is now installed. We now need to add the Cloud director Plugin. VRO does not come pre-installed with the Cloud Director plugin so this needs to be downloaded from my.vmware.com separately and then uploaded and installed.
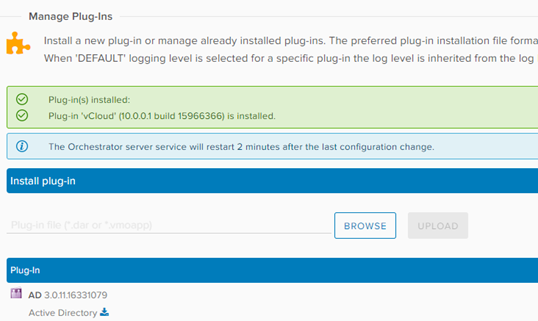
Plugins are in a .vmoapp or .dar format and are uploaded into VRO using the control center Plug-ins option, Click upload accept the eula and the system will reboot after 2 mins. Once done you should see the cloud director content in the VRO client.

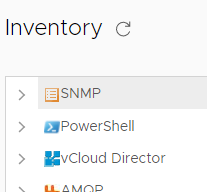
VRO Client Inventory:
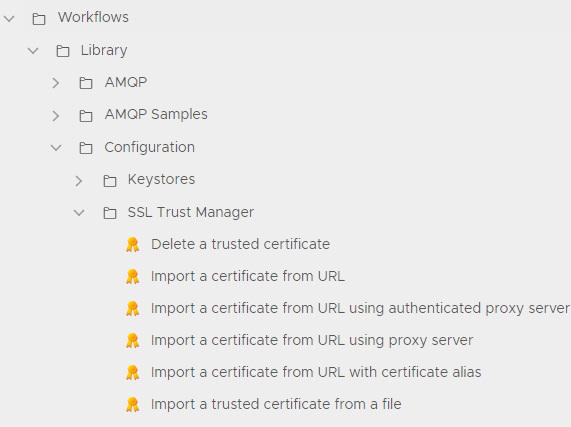
Import Certificate Workflow
To enable the connection between the VRO server and the Cloud Director cell server the VCD certificate needs to be imported, this can be done from the Control Center – Certificates – import if you have the PEM file to hand or you can run a Certificate import workflow from the VRO client to import the certificate.
Workflow > Configuration > SSL Trust Manger > Import a certificate from a URL and run the Workflow.
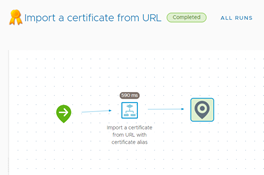
Enter Cloud Director URL and select accept a certificate with warnings…… (my VCD does not have a valid certificate)
This should now complete successfully as per below
Adding Cloud Director
To add the vCloud Director to VRO you need to execute another workflow
vCloud Director > Plugin – Configuration > Add a Connection
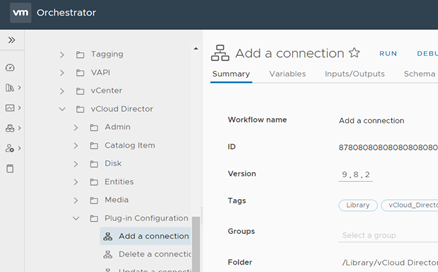
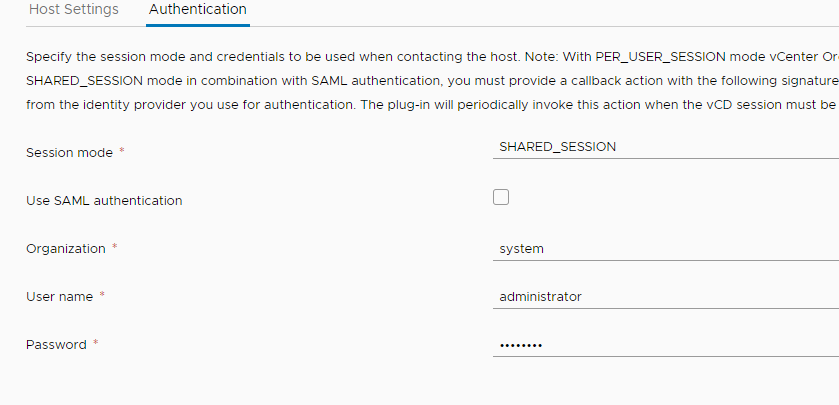
Click Run and completed the required details, make sure you check that the API version is the latest your VCD can support, also if you have not setup certificates correctly you might need to re run the step before using the IP address instead of the DNS name, or even better fix the cert issue.

Auth: