 by
by Cloud accounts in VRA 8.x are the new naming for endpoints, by configuring endpoints/Cloud Accounts VRA environments can leverage the resources and capabilities inside the endpoint. Cloud accounts can be public clouds (Azure, AWS,GCP) as well as private cloud (vSphere, VMC on AWS) and SDN platforms like NSX-T and V.
The below briefly explains the process on adding cloud accounts to VRA for the 3 main hyperscaler public clouds.
Azure
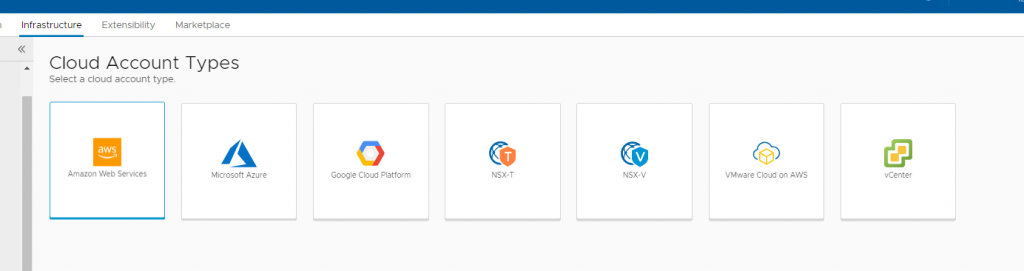
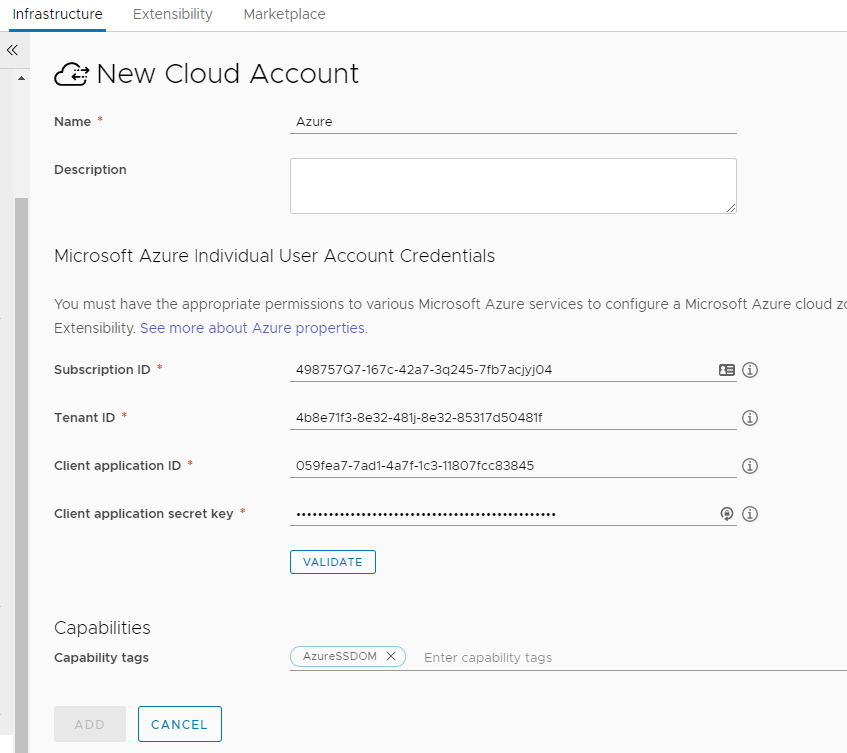
In VRA Cloud Assembly you need to go to Infrastructure > Add Cloud Accounts > Microsoft Azure at this point you will need a bunch of info from the azure portal – https://portal.azure.com/
Subscription ID: – you can get this from the subscriptions tab in Azure
Tenant ID: – go to the top right of the page select user name > Switch Tenant, ID is shown
Client Application ID: Azure Active Directory > App registrations > New registration
Client Secret Key: Azure Active Directory > App registrations > Certificates and Secrets
https://docs.microsoft.com/en-us/azure/active-directory/develop/howto-create-service-principal-portal
These are not real ID’s 🙂
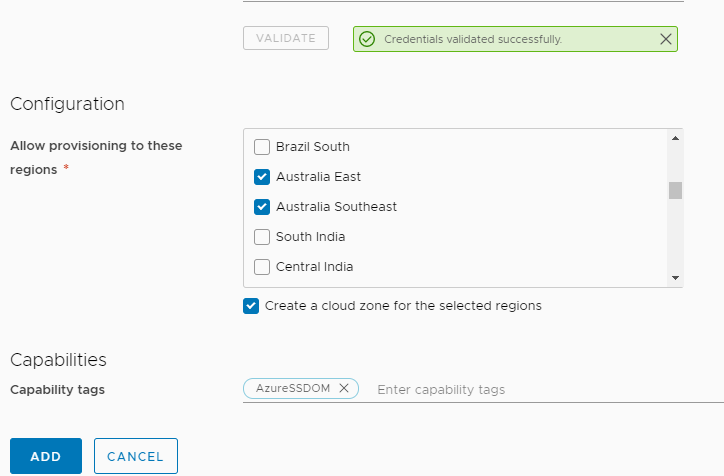
Once you have validated the connection you will then select the provisioning region, i have selected the AU regions as this is the closest to NZ at this point – local NZ regions coming soon..ish !!
I have created a tag called AzureSSDOM which will help to run placement logic for hyperscaler in flows and in blueprints.
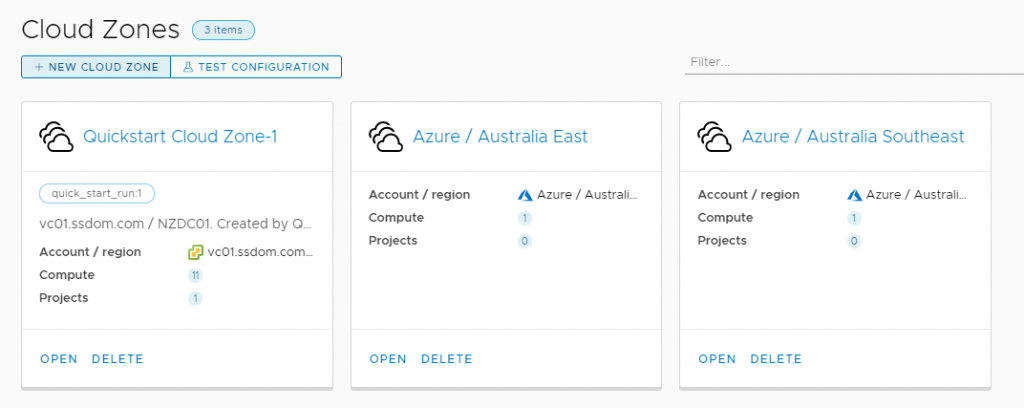
Click add and the cloud account is added, this will also add the regions into the Cloud Zones which are the old reservations in VRA 7.X. Don’t forget to add these to the project you want to run these deployments for.
now we can create flavor mapping (standard resources size), images (OS type), Network Profiles, Storage Profiles to then use these in a blueprints.
Amazon Web Services
As we did with the Azure Account go to Infrastructure > Add cloud Account > AWS
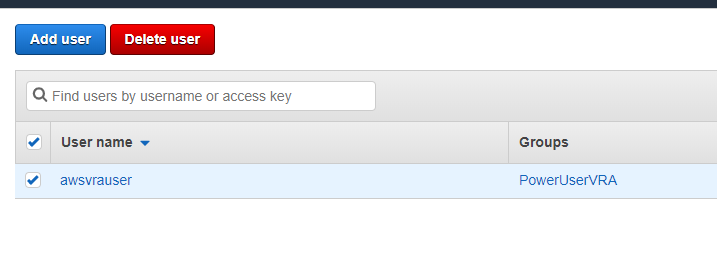
you will need to setup a user in AWS IAM and apply the permissions in this document.
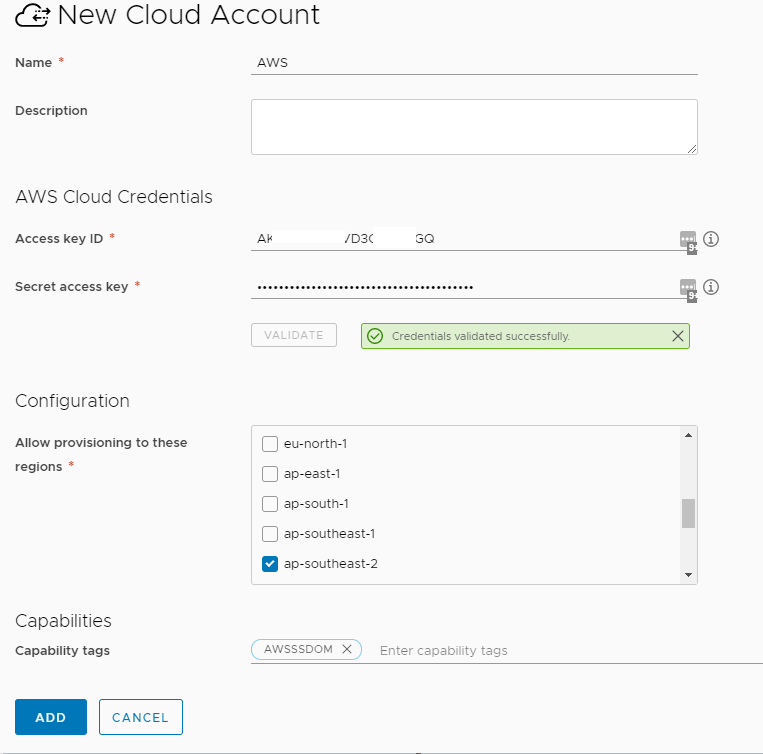
When you have set the permissions for the user click into it and go to the security tab here you can create a Access Key which has a auto generated secret, these are used by VRA to connect to the external API and allow VRA access into the platform.
Click “VALIDATE” as before and select the regions you wish to use. this once again will create cloud zones that can be added to projects within VRA.
Google Cloud Platform
To setup GCP you first need to enable the Compute Engine API on your GCP project. Select the project and go to “API’s and Services” and select “+ Enable API’s And Services” search for the compute API and enable it .
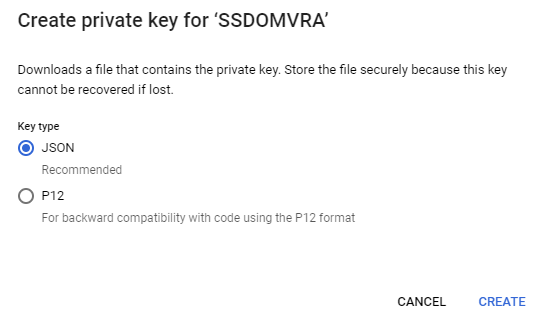
Create a service account for VRA to use IAM & admin > Service accounts > Create Service Account (Name, Account ID, Description). Create a key for the service account and save this in a JSON format.
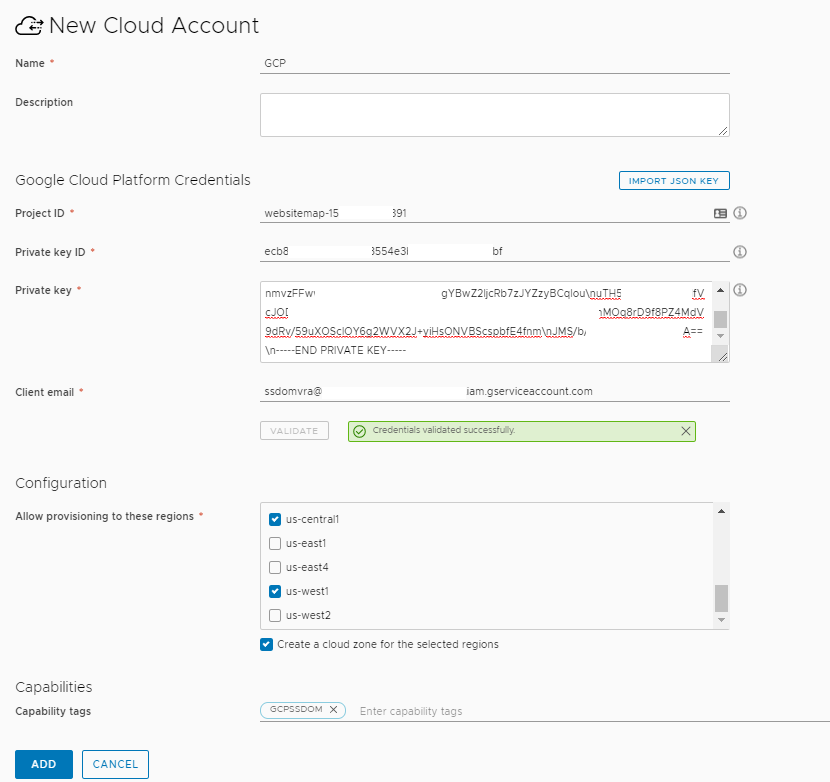
GCP is now setup follow the same process inside VRA as before Infrastructure > Add Cloud Account > Google Cloud Platform
You will see the below screen add a name and enter the project ID, Private Key and Client email details or use the save JSON file using the “IMPORT JSON Key” button. This will populate the details and then click validate, select regions and click add to create the GCP cloud zones.
The process to add public clouds has been improved greatly since the 7.x versions and follows a pretty standard approach, no VRO flows required. This is a great step forward and an easy process to follow.